Dealing with acne can be frustrating, especially when it seems like nothing is working. But what if I told you that a solution might be right there in your kitchen? As someone who has researched natural skincare remedies extensively, I’ve found that using kitchen remedies for acne can be surprisingly effective.
Here, I’ll share how a simple kitchen staple can help you achieve clearer skin, providing a natural and effective alternative to store-bought products. By the end of this read, you’ll see why kitchen remedies for acne are worth trying out.
Why Natural Remedies Work Best for Acne
Natural remedies have gained popularity for a reason—they work harmoniously with your skin. Unlike chemical-laden products, natural treatments like kitchen remedies for acne utilize ingredients that are both effective and gentle. These remedies are less likely to strip your skin of its natural oils, maintaining the balance that is essential for a healthy complexion.
Surprising Power of Everyday Ingredients
You might be surprised to learn that some of the most potent acne-fighting ingredients are sitting in your pantry. These everyday items contain antibacterial, anti-inflammatory, and soothing properties that can address the root causes of acne. Dive into the best kitchen remedy for acne that can help you achieve smoother, clearer skin.
Some Common Kitchen Item to Clear Up Acne Fast
These kitchen remedies for acne can effectively target breakouts while being gentle on your skin. Below are 6 common kitchen ingredients, how they work, and step-by-step guides to using them for acne relief.
1. Honey: Sweet Solution for Acne
Acne can be frustrating, but honey, a common kitchen item, offers remarkable benefits for skin health. Its natural properties make it an effective remedy for acne.

Why Honey Works
- Antibacterial Properties: Honey is a natural antibacterial agent that helps reduce acne-causing bacteria, thanks to its high acidity and low moisture content.
- Anti-Inflammatory Effects: It soothes irritation and redness, calming inflamed pimples and preventing further irritation.
- Natural Humectant: Honey draws moisture into the skin, which is essential for acne-prone skin that may become dry from harsh treatments.
- Healing Properties: Its antioxidants promote skin repair, minimizing the appearance of scars and blemishes.
How to Use Honey for Acne
To effectively use honey for acne, start by preparing raw, organic honey for optimal benefits. Begin your application by cleansing your skin with a gentle cleanser, then pat it dry to remove any excess moisture. Next, take a small amount of honey and warm it slightly between your fingers to make it easier to apply. Gently spread a thin layer of honey over the affected areas, ensuring that you cover all blemishes.
Allow the honey to sit on your skin for about 10-15 minutes, giving it enough time to penetrate and unleash its antibacterial and healing properties. Once the time is up, rinse the honey off with lukewarm water, gently massaging your skin as you do so to help remove impurities.
Finally, pat your skin dry with a soft towel instead of rubbing it, which can cause irritation. For the best results, incorporate this honey treatment into your routine 2-3 times a week; this will help reduce redness and keep your skin moisturized without the risk of over-drying.
2. Apple Cider Vinegar: The Natural Toner
Apple cider vinegar (ACV) has gained popularity as a versatile kitchen staple with remarkable skincare benefits, particularly for acne treatment. This common kitchen item is not only effective in the culinary world but also serves as a powerful natural toner that can help improve your skin’s condition.
Why Apple Cider Vinegar Works
- Balances Skin’s pH: The skin’s natural pH is slightly acidic, and many acne products can disrupt this balance, leading to dryness or irritation. ACV helps restore the skin’s natural pH level, which is essential for maintaining a healthy complexion.
- Antibacterial Properties: ACV contains acetic acid, which has been shown to have antimicrobial properties. This means it can help kill acne-causing bacteria that thrive on the skin and contribute to breakouts.
- Gentle Exfoliation: The natural acids in apple cider vinegar act as gentle exfoliants, helping to remove dead skin cells and excess oils that can clog pores. This exfoliation can lead to clearer skin and a reduction in the frequency and severity of acne breakouts.

How to Use Apple Cider Vinegar for Acne
Using apple cider vinegar (ACV) for acne treatment is simple and effective. Start by diluting ACV with water in a 1:3 ratio (one part vinegar to three parts water) to prevent irritation. Cleanse your skin with a gentle cleanser to remove dirt and oil, allowing the ACV to penetrate effectively.
Next, dip a clean cotton ball into the diluted solution, ensuring it’s saturated but not dripping. Gently dab it onto the affected areas, being cautious around sensitive areas like your eyes and mouth. Allow the solution to dry for 5-10 minutes to let the natural acids balance your skin and combat bacteria.
Afterward, rinse your face with cool water to soothe the skin and remove the vinegar. Follow up with a gentle moisturizer to prevent dryness. For best results, use this treatment once a day, preferably in the evening, and monitor your skin’s reaction to adjust the frequency as needed.
3. Turmeric: Golden Glow for Clear Skin
Turmeric, often hailed as a superfood, is not just a staple in culinary practices; in fact, it’s also a powerful ally in skincare, especially for those dealing with acne. This vibrant yellow spice is rich in curcumin, a compound known for its remarkable anti-inflammatory and antioxidant properties. As a result, these qualities make turmeric an excellent option for soothing the redness and swelling associated with acne, promoting a clearer, healthier complexion.
Why Turmeric Works
Anti-Inflammatory Properties: The curcumin in turmeric helps to reduce inflammation in the skin, which is particularly beneficial for calming irritated acne lesions. By minimizing redness and swelling, turmeric can enhance the overall appearance of the skin.
Antioxidant Rich: Turmeric is packed with antioxidants that combat free radicals, which can cause skin damage and accelerate aging. By neutralizing these free radicals, turmeric helps in maintaining healthy skin.
Combined Benefits: When mixed with other natural ingredients like honey or yogurt, turmeric not only boosts its efficacy but also enhances the moisturizing and healing properties of these combinations. Honey adds antibacterial benefits, while yogurt provides lactic acid to help exfoliate and brighten the skin.
How to Use Turmeric for Acne
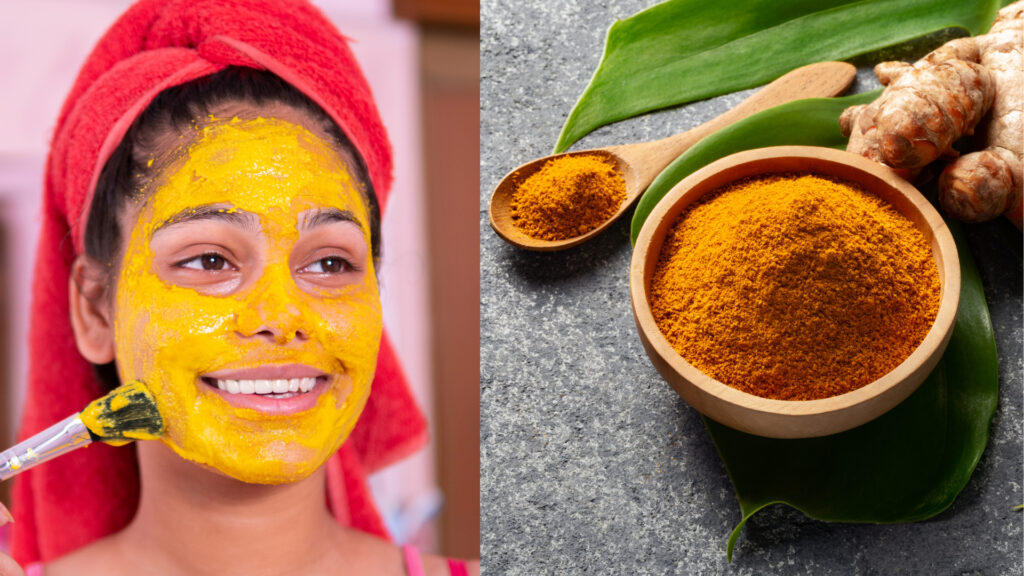
Incorporating turmeric into your skincare routine for acne treatment is simple and effective. Begin by mixing 1 teaspoon of turmeric powder with a few drops of water or honey to create a thick paste. Honey adds antibacterial benefits, enhancing turmeric’s properties.
Apply the paste directly to individual pimples with clean fingers or use it as a full-face mask, avoiding sensitive areas like the eyes and mouth. Let it sit for 10-15 minutes to allow the active ingredients to penetrate. Rinse with warm water, gently massaging your skin to remove the paste thoroughly, and pat dry with a soft towel.
For best results, use this treatment 2-3 times a week. Be aware that turmeric can temporarily stain skin and clothing, but any discoloration usually fades after a few hours.
4. Aloe Vera: Nature’s Soothing Gel
Aloe vera is a remarkable natural remedy for acne due to its soothing and anti-inflammatory properties. Incorporating aloe vera into your skincare routine is easy and can greatly benefit your skin. Here’s a step-by-step guide on how to effectively use aloe vera for acne treatment:
Preparation:
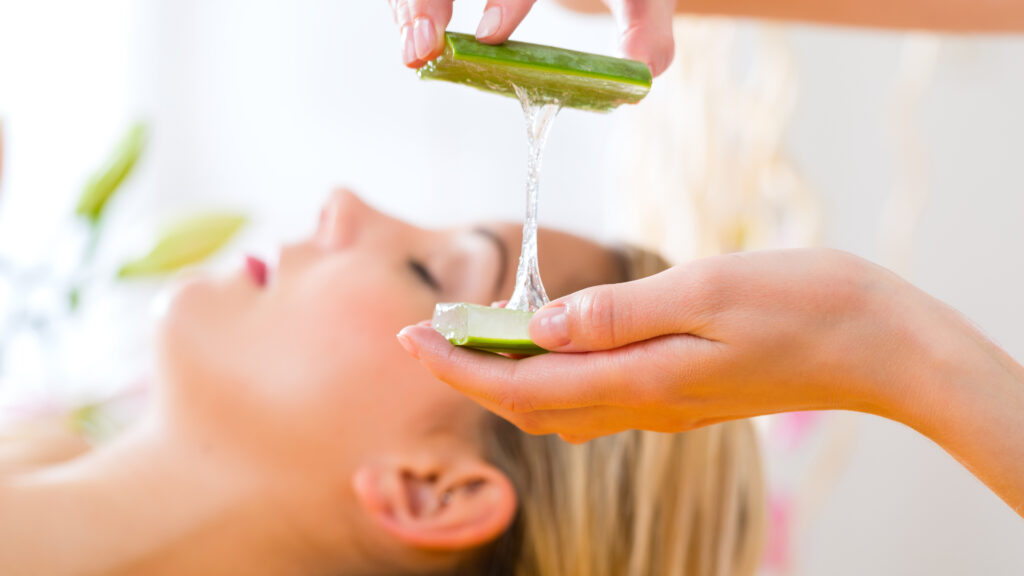
Start by cutting a fresh aloe vera leaf. Look for a plump, healthy leaf, as this will yield the most potent gel. Use a sharp knife to slice the leaf open lengthwise, exposing the inner gel. You can scoop out the clear gel using a spoon or a small spatula. Ensure you collect enough gel to cover the areas of your skin that need treatment.
Application:
- Cleanse Your Skin: Before applying aloe vera, wash your face with a gentle cleanser to remove dirt, oil, and impurities. This step ensures that the gel can penetrate your skin effectively without any barriers.
- Direct Application: Take the extracted aloe vera gel and apply it directly to your clean skin, focusing on areas prone to acne. You can use your fingers or a clean cotton pad for this step. Make sure to apply a generous amount, ensuring even coverage over the affected areas.
- Absorption: Allow the aloe vera gel to absorb into your skin. There is no need to rinse it off, as leaving it on will provide continuous soothing benefits. Aloe vera is lightweight and dries quickly, leaving your skin feeling refreshed and hydrated.
- Overnight Treatment: For best results, consider using aloe vera as an overnight treatment. Apply it before bed and let it work its magic while you sleep, helping to calm inflammation and promote healing.
5. Oatmeal: Gentle Exfoliation for Clear Skin
Using oatmeal as a treatment for acne is an effective and gentle method that harnesses its natural exfoliating and soothing properties. Here’s a detailed guide on how to incorporate oatmeal into your skincare routine:
Why Oatmeal Works
Oatmeal serves as a gentle exfoliant, effectively removing dead skin cells and excess oil from the skin’s surface without causing irritation. Its anti-inflammatory properties help reduce redness and soothe irritated skin, making it an ideal remedy for acne-prone skin.
How to Use Oatmeal for Acne
Preparation:
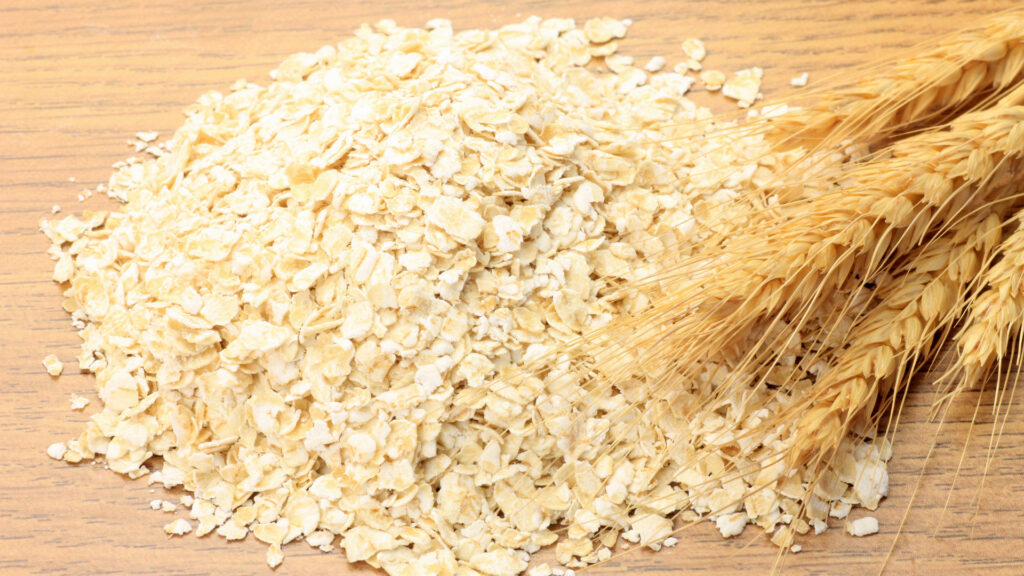
When selecting oatmeal for your skincare routine, it’s important to choose the right type to maximize its benefits. Start with plain, whole oats, as instant oatmeal often contains additives that can irritate the skin. Steel-cut or rolled oats are preferable because they retain more nutrients and possess superior exfoliating properties.
To prepare the oatmeal, first, measure out about half a cup and cook it according to the package instructions, which typically involves boiling it in water until it becomes soft and creamy. Make sure to use plain oatmeal, as avoiding any added sugars or flavors is essential to maintain its effectiveness. Once cooked, remove the oatmeal from the heat and allow it to cool to room temperature; it should feel warm but not hot to the touch. This step is essential to ensure it doesn’t burn your skin upon application.
Application:
- Cleanse Your Skin: Before applying the oatmeal, wash your face with a gentle cleanser to remove dirt, oil, and impurities. Pat your skin dry with a soft towel.
- Apply the Oatmeal Mask: Take the cooled oatmeal and apply it directly to your face. You can use your fingers to spread it evenly, focusing on areas prone to acne or irritation. Make sure to cover the entire face or target specific areas as needed.
- Let It Sit: Allow the oatmeal mask to sit on your skin for about 15-20 minutes. During this time, the oatmeal will help to absorb excess oil and hydrate your skin. You might feel a slight tingling sensation, which is normal.
- Rinse Off: After 15-20 minutes, rinse your face with lukewarm water. While rinsing, gently massage your skin in circular motions to exfoliate effectively. The oats will provide a gentle scrubbing action that helps remove dead skin cells.
- Dry Your Skin: Pat your skin dry with a clean towel. Avoid rubbing, as this can irritate acne-prone skin.
6. Green Tea: Antioxidant-Rich Skin Savior
Incorporating green tea into your skincare routine is an excellent way to harness its powerful antioxidant properties to combat acne. Here’s a step-by-step guide on how to effectively use green tea for acne treatment:
Preparation: Start by brewing a cup of green tea using loose leaves or tea bags. Boil water and pour it over the tea, allowing it to steep for about 3-5 minutes. Once brewed, remove the tea leaves or bag and let the tea cool completely. This cooling process is essential, as applying hot liquid to your skin can cause irritation.
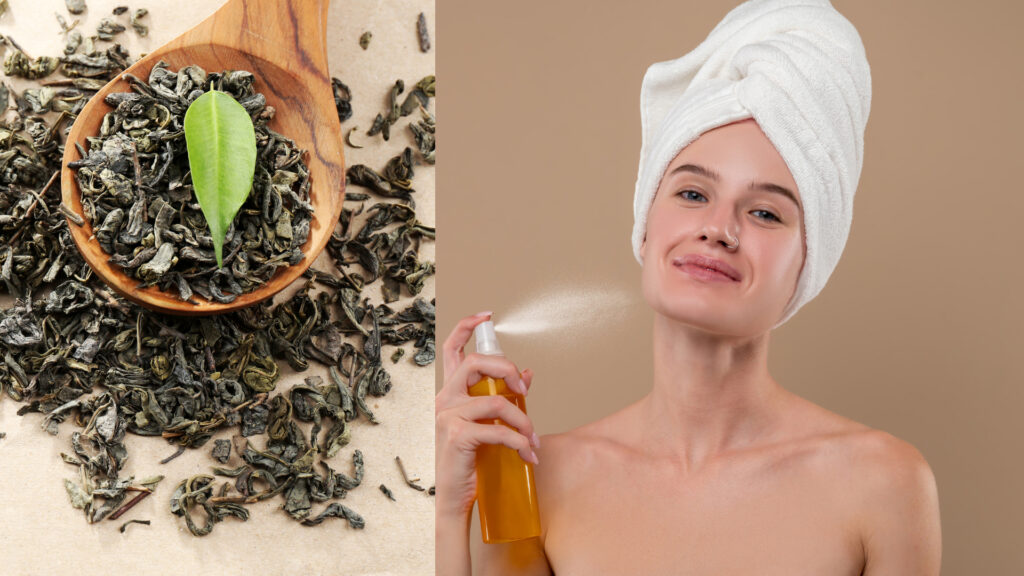
Application: There are two effective ways to use green tea on your skin:
- Using a Cotton Ball: First, dip a clean cotton ball into the cooled green tea, ensuring it’s fully saturated. Then, gently dab the cotton ball onto the areas of your skin affected by acne. While doing this, focus on problem spots but avoid sensitive areas around the eyes. The tannins and polyphenols in green tea will help reduce inflammation and fight the bacteria responsible for acne.
- As a Facial Mist: For a refreshing and hydrating option, pour the cooled green tea into a spray bottle. This method not only makes it easy to apply but also provides a soothing mist to your face. Simply spray it onto your skin, ensuring you avoid your eyes and mouth.
After application, allow the green tea to air dry on your skin. This step is essential because it gives the active ingredients time to penetrate and work effectively. Once the tea has dried, follow up with a light moisturizer to keep your skin hydrated. This is particularly important since some skin types may experience dryness after using green tea.
Therefore, regular application can lead to healthier and clearer skin over time. As you incorporate this routine into your skincare regimen, you may notice a significant improvement in your skin’s overall appearance and texture.
My Personal Experience with This Kitchen Acne Remedy
Dealing with acne was a challenging journey for me. Like many, I tried countless products, ranging from high-end serums to over-the-counter treatments, yet nothing seemed to provide lasting results. Frustrated and desperate for a solution, I turned to kitchen remedies, intrigued by the potential of natural ingredients to combat my skin issues.
How This Ingredient Transformed My Skin
One of the standout ingredients in my skincare routine has been honey. Initially skeptical, I decided to give it a chance after researching its antibacterial and anti-inflammatory properties. To my surprise, the transformation was remarkable. After just a few weeks of incorporating honey into my regimen, I noticed a significant reduction in my breakouts. My skin felt softer and more hydrated, which was a welcomed change compared to the dryness I experienced with many commercial products.
Before and After: What to Expect
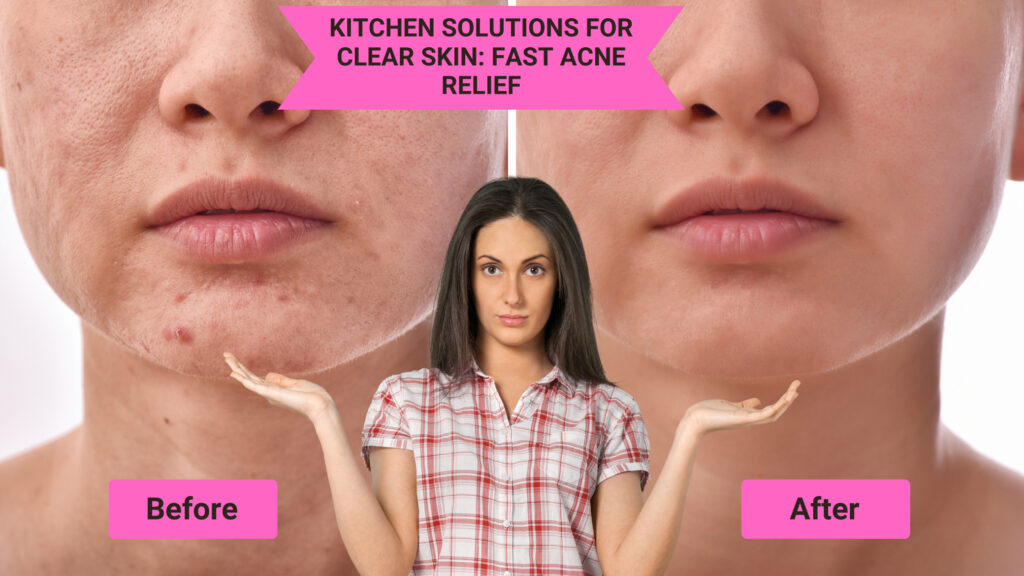
Before starting this natural remedy, my skin was often dull, inflamed, and prone to painful cystic acne. After diligently using honey 2-3 times a week, I began to see a noticeable difference. Specifically, the redness diminished, and my complexion started to brighten. Friends and family began to comment on how my skin appeared healthier and more radiant, which significantly boosted my confidence.
Tips from My Own Skincare Journey
If you’re considering trying kitchen remedies for acne, here are a few tips from my personal journey that may help:
Consistency is Key: First and foremost, stick to a routine and be patient. Natural remedies take time to show results; therefore, don’t be discouraged if you don’t see immediate changes.
Patch Test: Always perform a patch test before applying any new ingredient to your entire face. This simple step helps to ensure you won’t have an adverse reaction.
Hydrate: Don’t forget to moisturize! Even if you’re using natural remedies, keeping your skin hydrated is crucial for maintaining balance.
Combine Ingredients: Experiment with mixing ingredients, like honey and turmeric, for enhanced benefits. Each ingredient has unique properties that can work together effectively to combat acne.
Listen to Your Skin: Lastly, pay attention to how your skin reacts. If something irritates your skin, discontinue use and try another remedy.
Also Read: How to Stop a Toothache Naturally Using This Household Item
Through my experience, I’ve learned that sometimes the best solutions can be found in the most unexpected places. By using the power of kitchen remedies, I’ve not only transformed my skin but also gained a deeper understanding of how natural ingredients can promote overall skin health. Therefore, if you’re struggling with acne, consider these natural alternatives—you might just find the answer you’ve been looking for!
